What You Need:
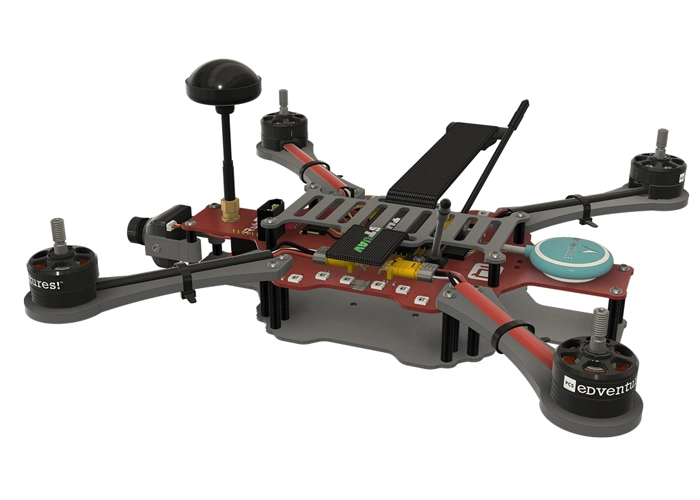
RubiQ 2.0
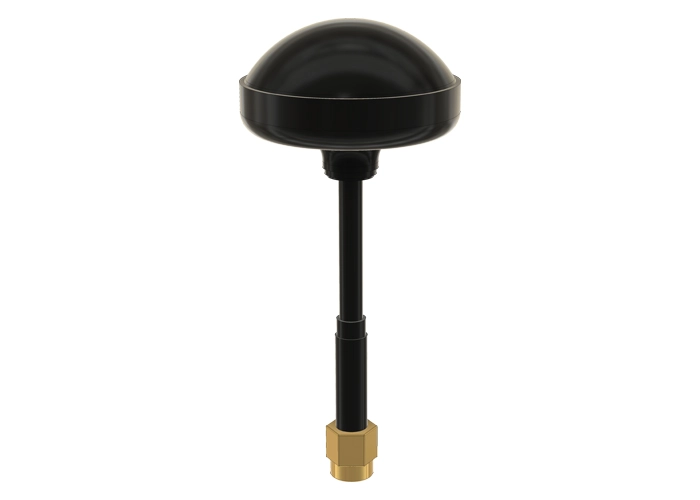
Antenna
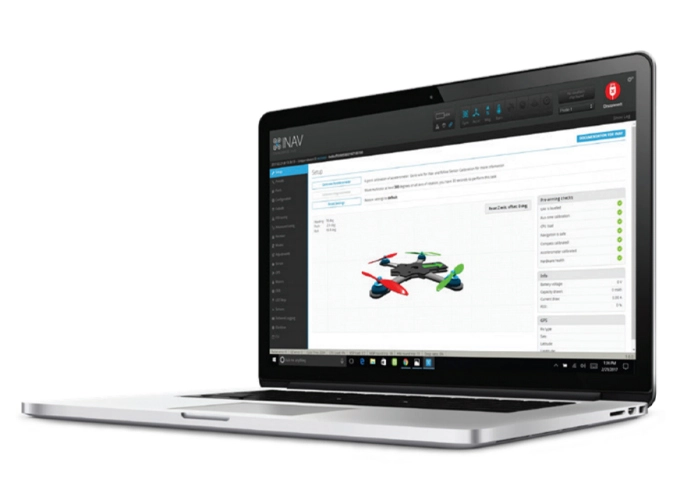
INAV 1.9.3
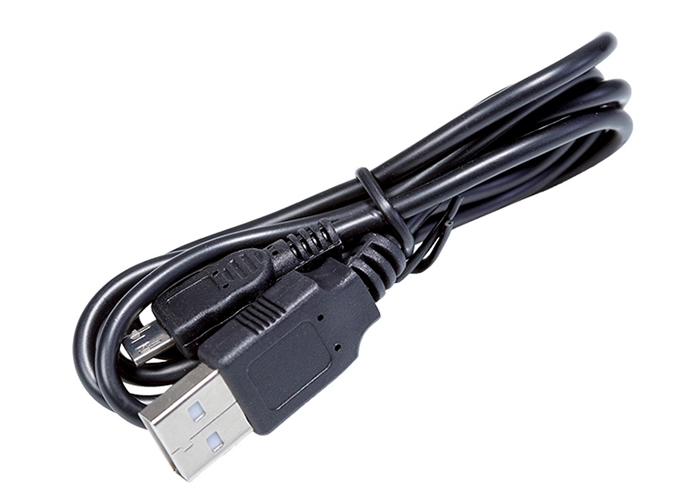
USB Cable
LiPo Battery

Taranis Q X7
Steps:
WARNING! Remove props and attach the antenna before binding the receiver to the radio.
The directions on this page are are also specific to RubiQ 2.0’s with the red F3 flight controller with yellow motor plugs.

- Start with RubiQ disconnected from the battery and the computer.
- Turn on your Taranis Q X7 radio controller with the On/Off button located in the middle of the controller and make sure RubiQ T is the model displayed on the video screen.
- The circle with the three stacked lines on the left side of the Taranis video screen is the MENU button. Press this button to open the MODEL SELECTION screen.
- This screen displays all the models that have been set up on the radio controller. The asterisk shows which model is currently selected. If RubiQ T isn’t already selected, use the knob on the right side of the screen to highlight RubiQ T as a model.
- Press the knob, and a submenu will appear. Highlight the option SELECT MODEL and press the knob again to select RubiQ T.
- With RubiQ T selected as the model, hit the PAGE button to open the SETUP screen. With the knob, navigate to the RECEIVER field located beneath Internal RF.
- Select the BND (bind) option. To enter bind mode, press the knob.
- When the BND field flashes and the Taranis chirps, the radio is in bind mode.
- While the Taranis is chirping, press and hold the small button on RubiQ’s receiver, which can be found below the battery plate on the top of the PCB.
- Make sure the cable connecting RubiQ to the computer is unplugged, so the RX isn’t receiving power from the computer before the battery is plugged in.
- While still holding the button down, connect the LiPo battery. (This maneuver may be easier with a friend.) The chirping should continue.
- Wait to release the button until the lights come on and the beeps from the drone stop.
- Unplug the battery from RubiQ.
- Press the knob on the radio to complete the binding.

To see if your bind was successful, power up your Taranis and connect the battery to RubiQ. If the two are bound, the small LED on top of the receiver will be a solid color. If the LED is blinking, the bind was not successful.

Troubleshooting:
If RubiQ isn’t available as a preset bind option, the radio needs to be configured.
- Download the Taranis Firmware Files
- Extract the contents of the downloaded file:
- On Windows, find the ZIP file that begins with “QX7”. Right-click the folder icon and select “extract all.” This will bring up a sub-menu asking you to select a destination for the extracted files. Press the “extract” option at the bottom. A new file window will appear containing a series of folders. Keep this file window open.
- On Mac, Find the downloaded ZIP file that begins with QX7. Double-click the folder to begin unzipping the files. A new folder will appear. Keep the file window open.
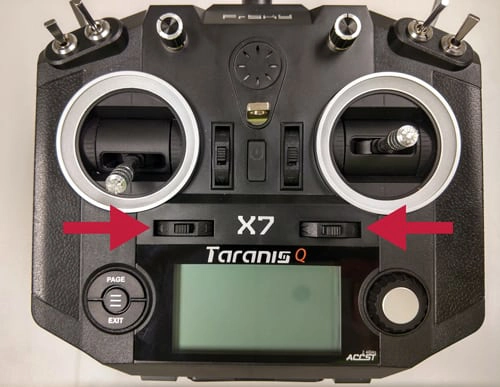
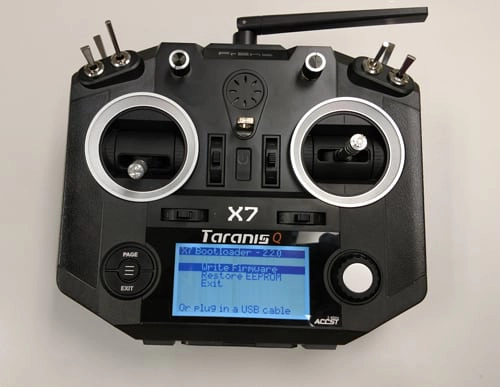
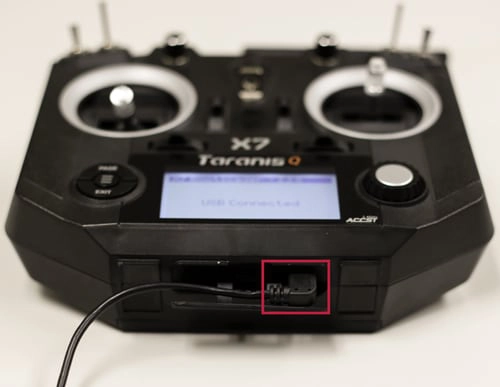
- Hold the horizontal trims inward and press the power button once to power on the Taranis. If done correctly the “BootLoader” Screen should be displayed.
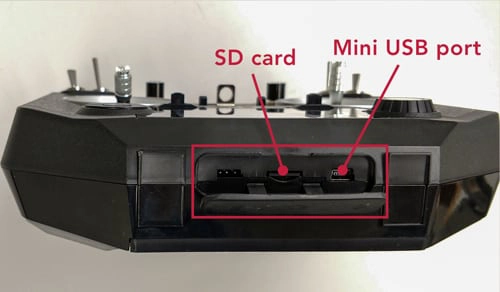
- Open the rubber port cover on the bottom of the Taranis X7. Connect the Taranis to the Computer using a Mini USB cable.
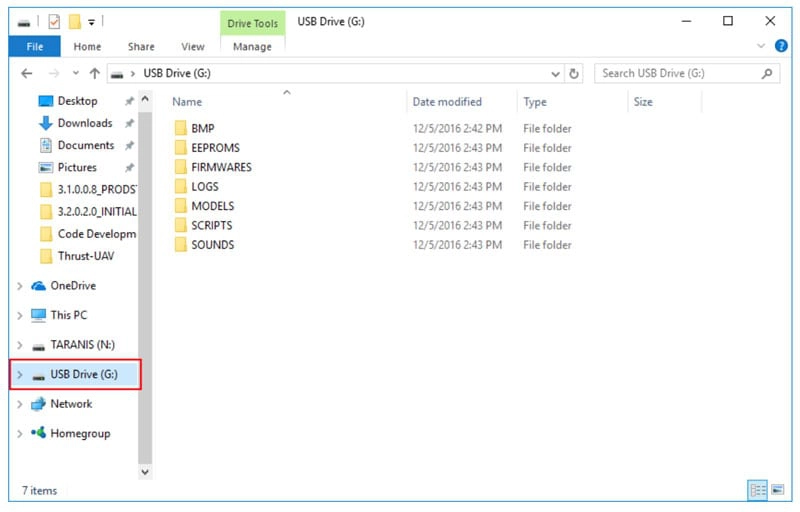
- Next you’ll transfer the files you just downloaded from the “QX7_RubiQ_Freerider_Riot250R_ELF” folder on your computer to the “USB Drive” (Windows) or the “NO NAME” drive (Mac). DO NOT transfer the files to the TARANIS drive! The TARANIS drive contains the software native to the controller and is not large enough to hold the files you are transferring.
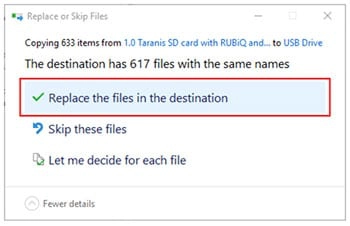
- To transfer the files, select all the folders in the QX7_RubiQ_Freerider_Riot250R_ELF folder. Drag them into the file window showing the folders in the USB Directory (the names of the two sets of files will be similar or identical). When given the option, choose to Replace the files in the new destination.
- Safely Eject the USB Drive to prevent corruption of data.
- Safely eject the TARANIS drive.
- Power down the Taranis.
When you power up the Taranis after flashing, you will see the “failsafe not set” warning.
You should always reset the failsafe before flying. Failure to reset the failsafe before flying may result in an out-of-control drone in the event you lose connection with your RubiQ mid-flight. To learn how to reset the failsafe, refer to Step 3b in the RubiQ Configuration Guide.
Next, you’ll need to apply the appropriate model.
- Power up the Taranis.
- Click on the MENU Button to enter the “Model Selection” Screen. At this point, the screen will look exactly as it did before.
- Press the ENT Button (push the right selection wheel) and select the “Restore Model” option.
- Select the RubiQ T model from the model list (RubiQ T, RubiQ S, ELF, FreeRider, RIOT) and push ENT. RubiQ T should now appear as a model.
- Scroll down to the next available number and repeat for each of the remaining models.