What You Need:
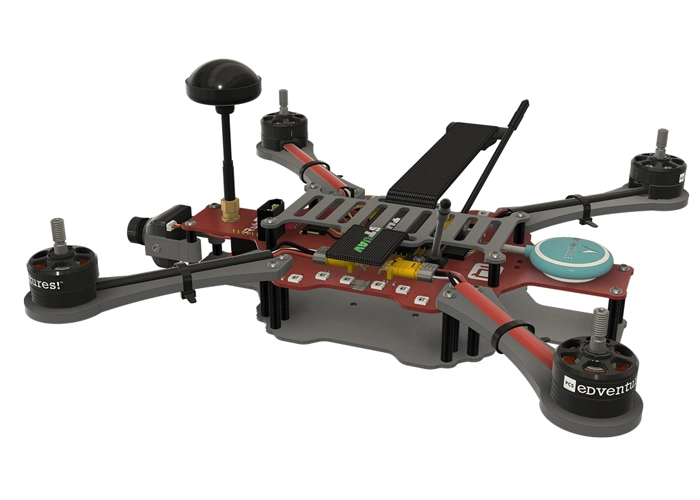
RubiQ 2.0
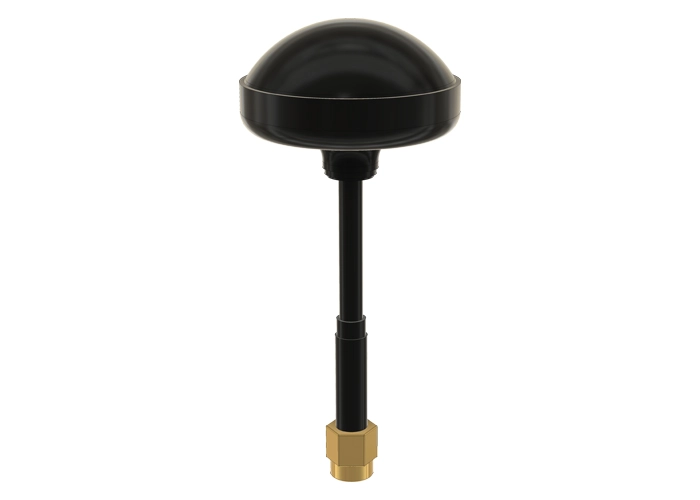
Antenna
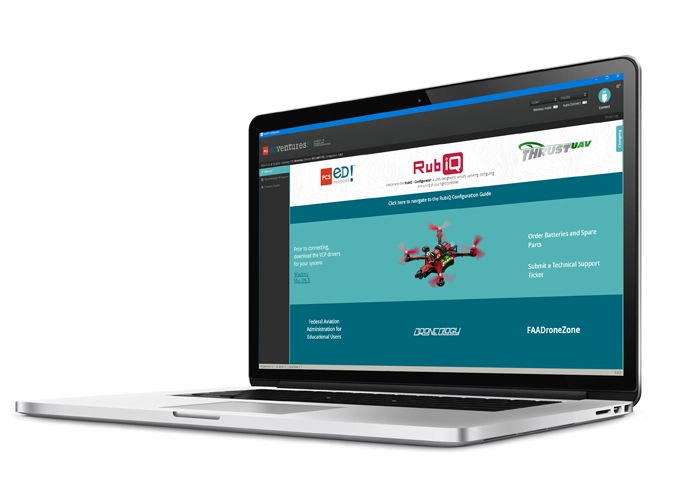
RubiQ Configurator
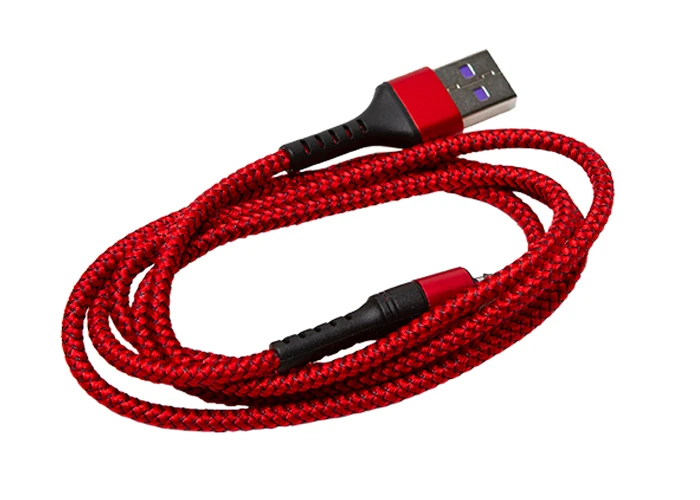
USB Cable
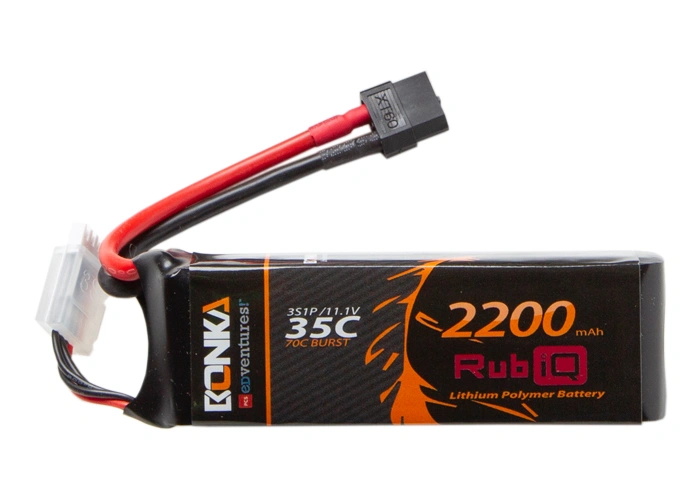
LiPo Battery
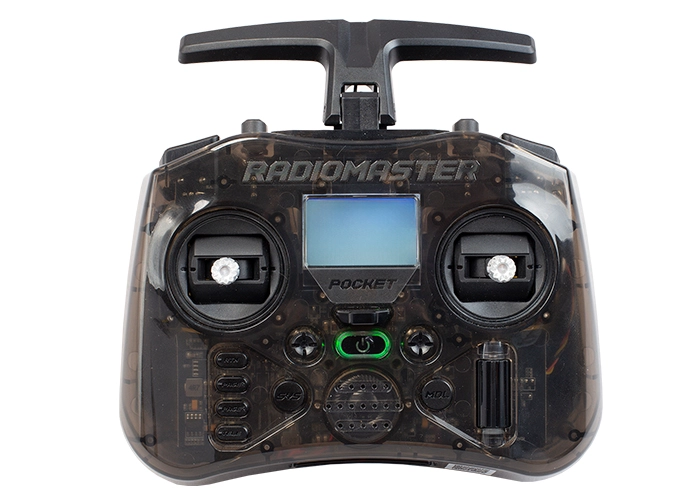
Radiomaster Pocket
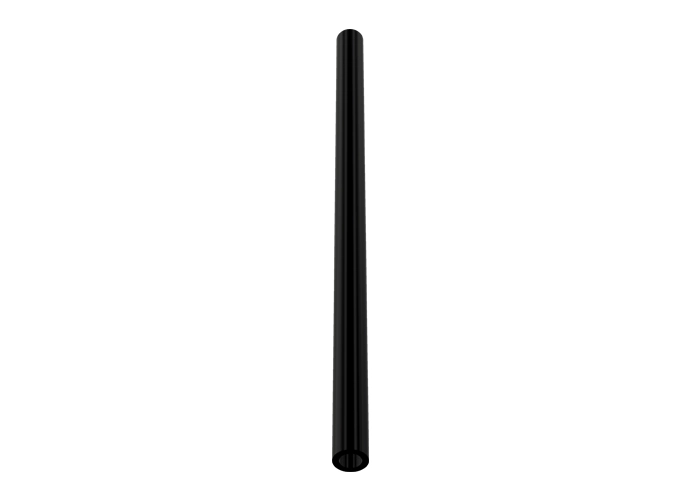
Antenna Tube
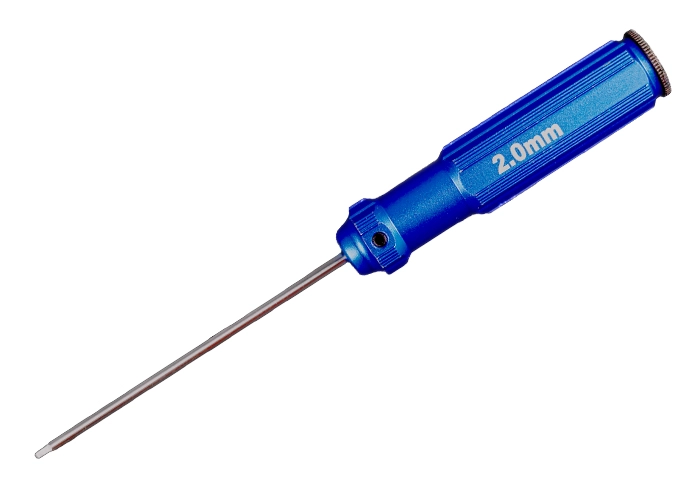
2.0mm Hex Driver
Steps:
WARNING! Remove props and attach the VTX antenna before binding the receiver to the radio.
Additionally, you must use the thin black tube or some other non-conducting material to press the bind button on the receiver. Failure to do so could result in shorting out your drone’s circuit board.

- Start with RubiQ disconnected from the battery and the computer.
- Remove RubiQ’s battery plate by using the hex driver to unscrew the four M3x6 screws.
- Turn on your Radiomaster Pocket with the On/Off button located in the middle of the controller.
- Look to see if RubiQ T is the model displayed on the video screen.
- Press the MDL (Model) button to the left of the roller. This opens the MODEL SELECTION screen. This screen displays all the models that have been set up on the radio controller. The asterisk shows which model is currently selected.
- If RubiQ T isn’t already selected, use the roller on the right side of the screen to highlight RubiQ T as a model. Press the roller (it also acts as a button), and a submenu will appear. Highlight the option SELECT MODEL and press the roller again to select RubiQ T.
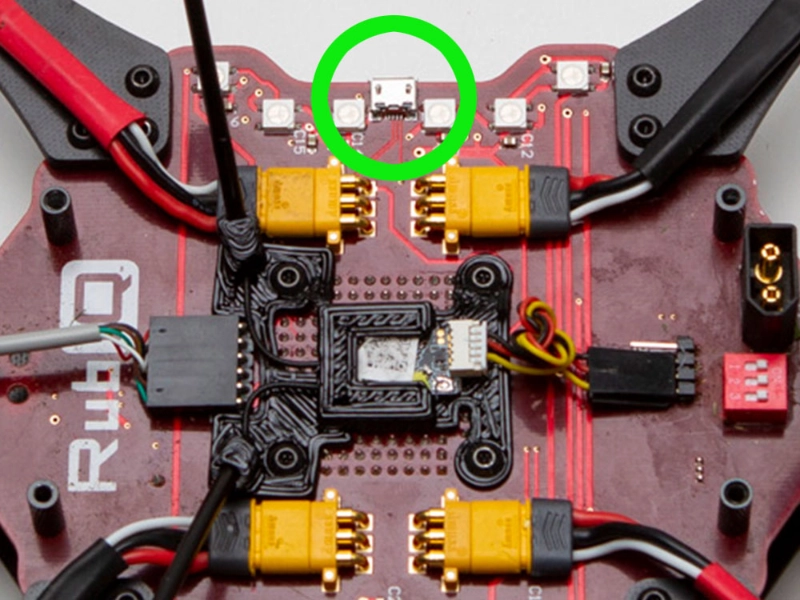
- Connect the USB cable to the port on the side of RubiQ’s PCB.
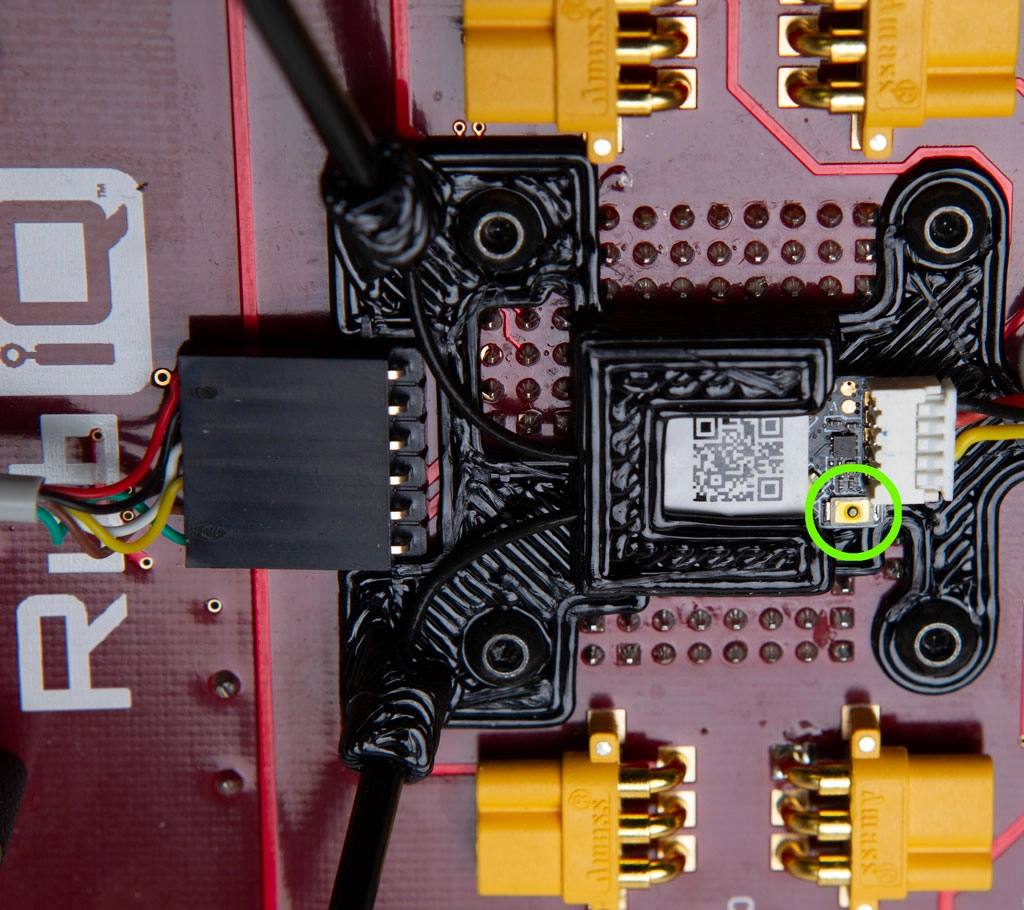
- Use the thin black tubing or some other non-conducting item to gently press and hold the small gold or silver binding button on RubiQ’s receiver, which is below the battery plate on the top of the PCB. It requires very little force to press and hold the binding button. Excessive force could break the button.
- While pressing the bind button, connect the USB cable to your computer. You should now see a solid red and solid green light on the receiver. This means the receiver is in bind mode. Release the bind button as soon as the receiver’s red and green LEDs turn on.
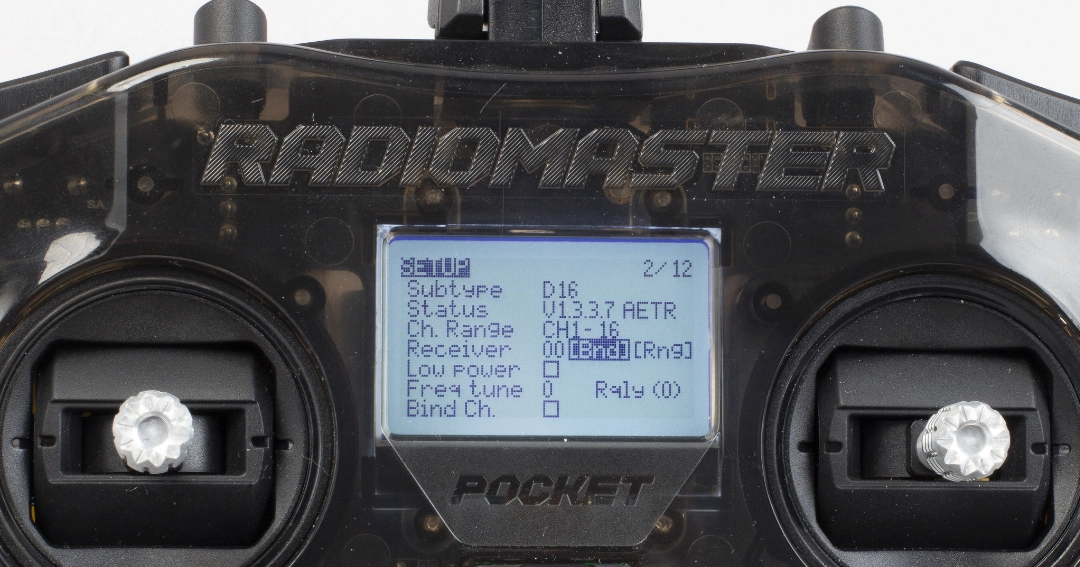
- On the Radiomaster Pocket, with RubiQ T selected as the model, hit the PAGE button on the left of the radio, found beneath RTN (Return), to open the SETUP screen.
- With the roller, navigate up to the “Receiver” line located beneath External RF and select the [BND] field, Receiver 00 [BND][RNG]. Press the roller again to select Ch1-8 Telem On. When the BND field flashes and the radio controller chirps, the radio is in Bind Mode.
- The red light on the receiver should now start blinking.
- Press the roller on the radio to complete the binding.
- Unplug the USB cable from the computer.
- To see if your bind was successful, reconnect the USB cable to your computer. If the drone and the radio are bound, the small LED on top of the receiver will be solid green.

Note: The PAGE > button only opens the setup screen when you’re inside the MDL (Model) menu with “RubiQ T” highlighted. It will not open from the Home screen.


- To do this, reconnect the LiPo battery to RubiQ.
- Then, press and hold the BIND button for at least 5 seconds.
- Next, release the button.
The receiver’s blue LED will blink three times and turn off, indicating that the receiver has been reset to PPM mode.

Troubleshooting:
To see if your bind was successful, reconnect the USB cable to your computer. If the drone and the radio are bound, the small LED on top of the receiver will be solid green. If the LED is blinking, the bind was not successful. Return to Step 1 to start the bind procedure again.
If RubiQ isn’t available as a preset bind option, the radio needs to be configured. Please ask your instructor to submit a support ticket.