What You Need:
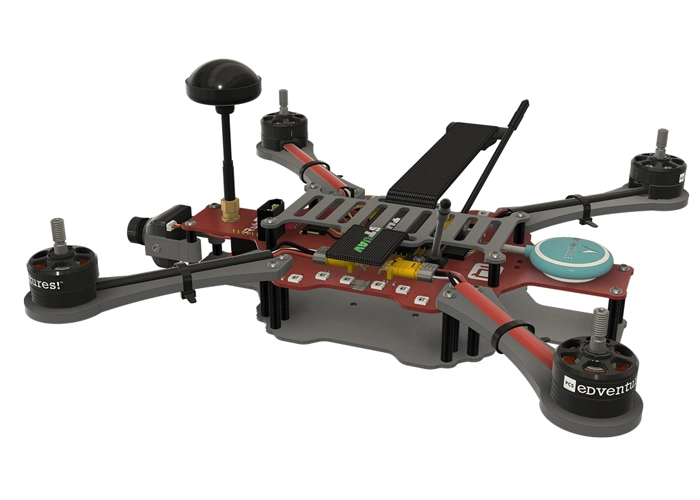
RubiQ 2.0
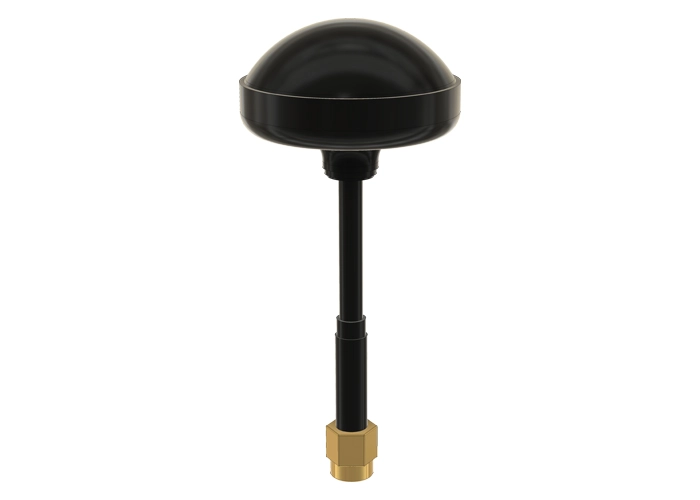
Antenna
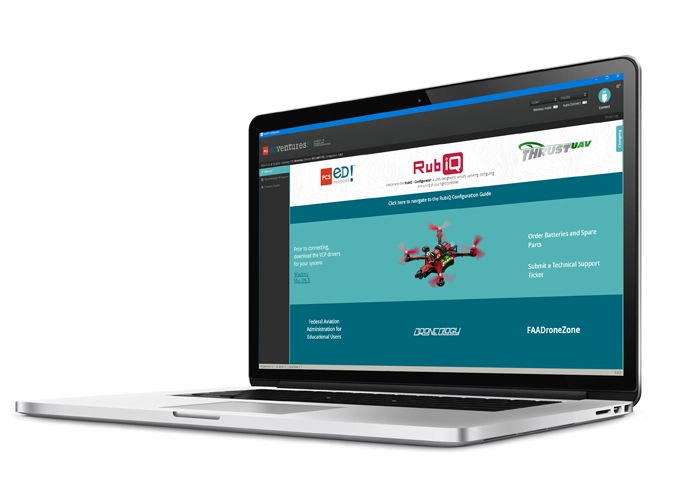
RubiQ Configurator
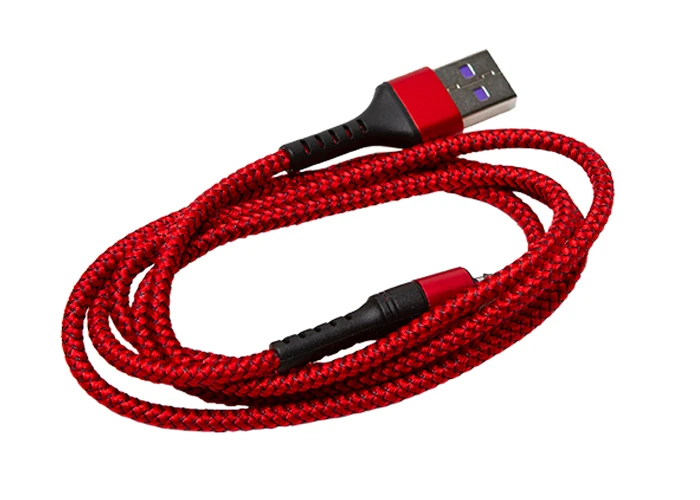
USB Cable
LiPo Battery
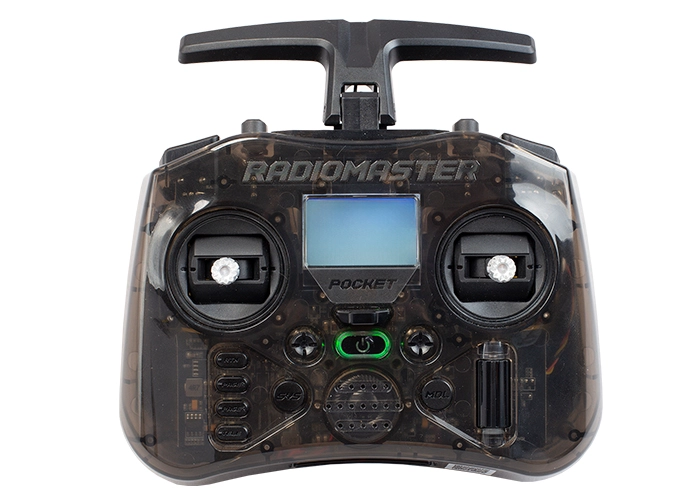
Radiomaster Pocket
Steps:
WARNING! Remove props and attach the antenna before configuring aux switches.
Open the Modes tab in the RubiQ Configurator. To verify the switch settings that come preconfigured to the flight controller, you’ll need to have the radio bound.
Scroll down in the Modes tab to see all the settings that are pre-programmed to the flight controller.

Arm State (whether or not the motors can be powered) should be set to CH 5, which is mapped to the SA switch on the Radiomaster Pocket.

- The throttle is above 0%
- No GPS lock
- RubiQ hasn’t been fully configured
- Position Hold or Return to Launch are active.
The blue ticker below the ARM bar should move into the blue range.
Once you have confirmed that the blue ticker moved into the blue range, click the SA switch again to disarm. The beeping will cease.
Because GPS-lock is enabled, the box labeled ARM at the beginning of the bar will not turn blue. That color change indicates that the drone has successfully armed. It will not turn blue until a GPS lock has been established. RubiQ cannot fly without GPS lock.

The second bar controls Flight Modes and should be set to CH 6, which is mapped to the SB switch on the Radiomaster Pocket.

Click the switch to the middle for Angle Mode. This should move the ticker into the blue.
The box at the beginning of the bar turns blue when Angle Mode is successfully activated.

Scroll down to the NAV ALTHOLD bar, which is also mapped to CH 6. Click the SB switch all the way towards you to trigger Altitude Hold.
Without GPS-lock, the NAV ALTHOLD box will not turn blue.

GPS Safety Features should be set to CH 7.

These boxes will also not turn blue until a GPS-lock has been established.


The Beeper should be set to CH 8, which is set to the SD switch on the Radiomaster Pocket.

Click the SD switch again to stop the beeping.

Troubleshooting:
If you aren’t seeing these Modes bars, you may need to reset the settings on your flight controller. Ask your instructor to contact PCS Edventures support for assistance.